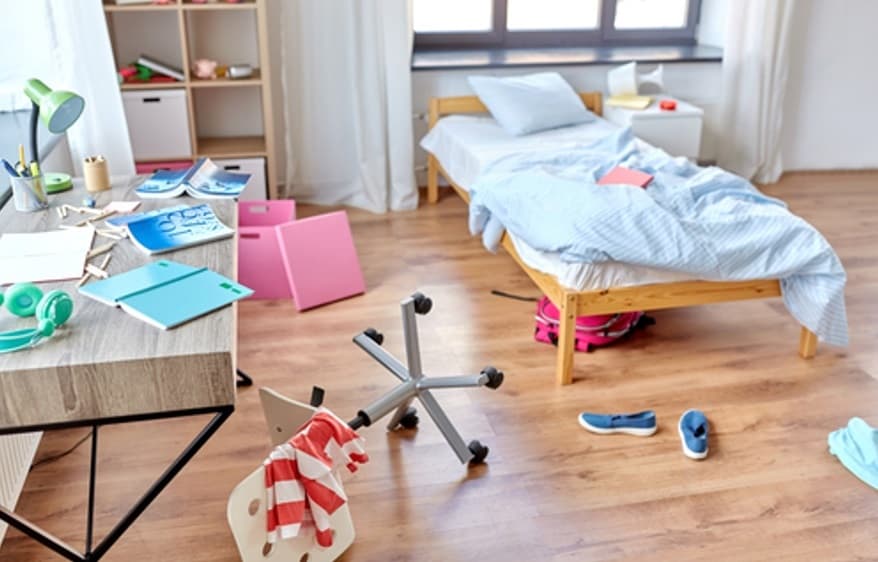
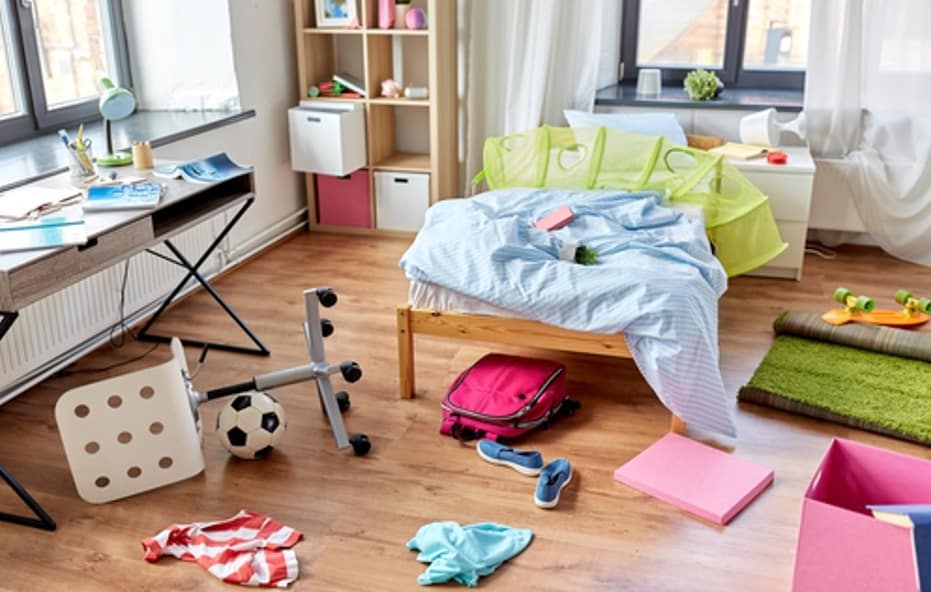
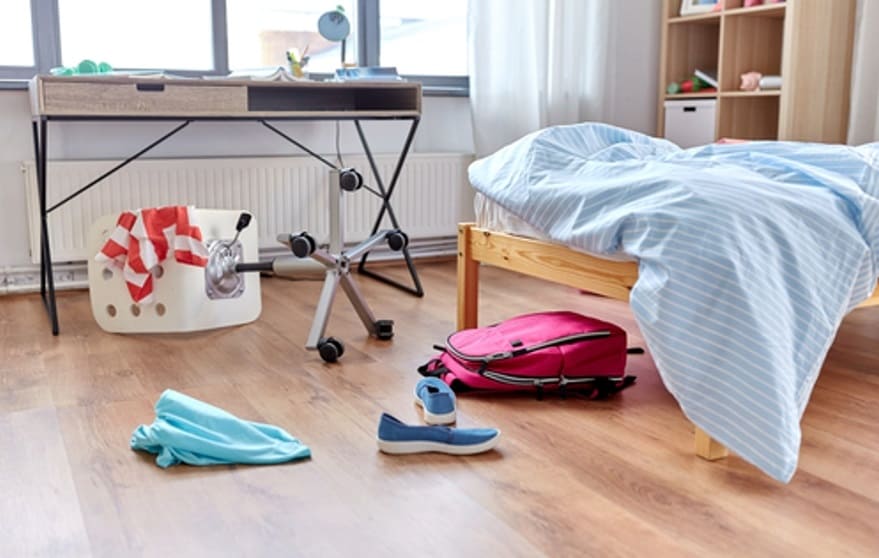
If only there were a magic wand you could use to declutter kids’ rooms! I’m sure this is something every working mom has pondered over the years. For some reason, your kids’ room seems to be the exact opposite of a black hole; instead of sucking everything in, it spits it all out onto the floor.
I’m willing to bet you a weekend off that you can’t tell me the color of your kids’ room right now! That’s because you can’t remember the last time you saw it free of small toys, tossed around clothes, books, food wrappers, and dirty socks.
But it doesn’t have to be this way!
I know it sounds too good to be true, but it is true! You can actually set up a system, a chore chart if you will, that can not only help you declutter your kids’ room but also help them maintain that level of cleanliness and organization for the long term.
Yes, I know you are crazy busy at work, and you really don’t have time for this, but hear me out!
How to Declutter Kids’ Room
Now, before we get started, I need to tell you that, as improbable as it might sound, the decluttering itself is actually the simple part. The real work is keeping the room neat and tidy for a sustainable period. Otherwise, you will be suffering through this entire process every weekend.
With that in mind, here are my tips on how to ensure that the system, and most importantly, cleanliness and kids room organization, sticks.
Involve the Kids
You simply must involve the kids. As much as it might seem like just another chore for them (and they will complain loudly about it, especially since it isn’t part of their chore schedule), they must participate.
There are several reasons for this:
- You are teaching them responsibility
- They will appreciate the process
- They know best where they want things to go
- It makes your workload lighter (in theory)

Also See: Simplified Cleaning Schedule for Working Moms
Once they see the difference between a neat and tidy room and whatever else they had going on before, most kids will want to keep it clean.
Besides, having them do most of the cleaning gives them a sense of control; it’s their space!
Step-by-Step Guide on How to Declutter Kids’ Room
Once you have them involved, here’s a step-by-step guide on how to get this thing done.
Step 1: Take a Grand Tour
Before you start anything, have your kid give you a grand tour of the disaster site. In the spirit of involving them in the process and getting them invested, have them walk you through their vision of how they see the room.
Have them explain to you how they see it functioning. Of course, you can chime in from time to time in case you see something they might miss.
The bottom line is that this grand tour is supposed to:
- Show you what is currently working well within the room
- Highlight what isn’t working
- What kind of vision do they have for their room? (This will tell you if they are genuinely slobs or just lazy)
What you need to keep in mind is that what your kid sees their room as today isn’t necessarily going to be what they see it as in the near future. Even six months is long enough for your kids’ needs to change and, as such, how they view and organize their room.
Step 2: Divide and Conquer
Now, this is a tricky one. If you have the time, meaning you guys have decided that on this particular Saturday, all you are going to be doing is decluttering the bedroom, then you can go hard and do the entire room in one go.
In fact, I highly recommend this strategy. Decluttering the entire room in one go gives you a chance to get it all done and to see what the entire picture looks like in the end. You can even take an actual picture of the “before” and the “after” so that you can remind them how far they’ve come.
The issue with this approach is that it’s time-consuming, and as a busy mom, you might not have all the free time needed to dedicate to this project in just one day. That’s where this secondary strategy comes into play.
The divide and conquer strategy is simple. Start with one section of the room and go from there. Here are some simple tips on how to do that:
- Declutter the sleeping area: Start with the bed. Make sure it’s free of dirty clothes, books, toys, and so on. Instruct your kid that the bed should remain that way always: made up nicely and free of clutter.
- Declutter the flat surfaces: The next step can be to declutter the flat surfaces, such as dresser tops, nightstands, desks, and bookshelves. These should all be clutter-free and wiped down.
- Organize the drawers: Go through each drawer, making sure that everything inside is clean and folded. Toss out socks with holes, or those missing their match and take the opportunity to pull out any clothing items that no longer fit.
- Declutter the floor: This is probably going to be the biggest part of the entire job. The floor bears the brunt of it all; it’s where everything is dropped and left to decay slowly into oblivion until it’s needed again. Make sure that you can actually see the floor when you are done; maybe this way, you can tell which color it was originally. This includes under the bed.
- Organize the closet: Everything in here should either be folded, on a hanger, or stored away elsewhere. Again, if it doesn’t fit, it’s time to let it go. Don’t let items they don’t wear take up valuable real estate.
- Finding the right storage solution: Yes, you need to have the right storage solution in place. This can mean tossing things into a storage bin, decluttering toys and art supplies and finding the right storage container for everything.
You can accomplish all of this bit by bit, and by that, I mean one weekend at a time, giving your kid a chance to get into that “keeping their own room clean” groove.
This means that if you did the bed area last weekend, this weekend should be the drawers, and the bed area should not need work at all because it has been maintained and kept to your high standard of cleanliness as established the weekend before.
Step 3: Make Sure You Have All the Right Supplies
You most likely already have everything you will need in the house. But to be sure, let’s go over a few things you are definitely going to want to have in easy reach:
- Trash bags can be used for two main purposes: transporting items that are going into storage to the actual storage area and keeping whatever is going to be discarded. You can even use them as storage bags for things like extra blankets, duvets, and pillows.
- Cardboard boxes can be used to store whatever needs storage within the room in a neat and organized pile. Labeled bins will work best for keeping your kids room clean.
- Ziploc bags or sizable plastic food containers for the smaller items that need to be sorted and organized.
- Vacuum cleaner or broom to get rid of all that dirt and the dust bunnies hiding under the bed and in corners.
- Cleaning supplies like Mr. Clean are needed to wipe down flat surfaces, mirrors, and shelves.
Step 4: Keep, Trash, or Donate
The fact that you are decluttering a kids’ room means that you are going to run into a lot of stuff and little storage space at this point. They will claim very proudly that they use everything and want to keep everything in that room, but you and I know this isn’t true.
I think it’s safe to say, in most circumstances, that 30–40% of everything in that room hasn’t seen the light of day in terms of usage for ages. As such, it’s up to you to help your kid sort through what they need to keep, trash, and donate.
Trash Option

Donate Option
Anything that is in good working condition but has been outgrown. These items will include clothes, some gadgets, and toys. If they haven’t used the item in more than two months, but it’s in good working order, they should donate it.
Keep Option
Everything else falls under the keep option. It should be noted that the trash and donate option is a moving target. This sorting process should be repeated every six months or so, especially if you have younger kids.
Step 5: A Clear Overview
You should be done with the entire room at this point. The next step is for both of you to take a step back and look at what you have achieved.
This is where, if you have a teenage daughter, there will be some executive changes, mostly because she doesn’t like how that looks there or this here and so on. But those are minor changes, and they will continue to occur. The point is that the room is now neat and clutter-free.
This is to say that all this decluttering and organization of their own space might change soon enough, and you guys will have to go through this entire process again. Thankfully, if you have already taught them about the importance of cleanliness, future decluttering experiences won’t be so painful.
