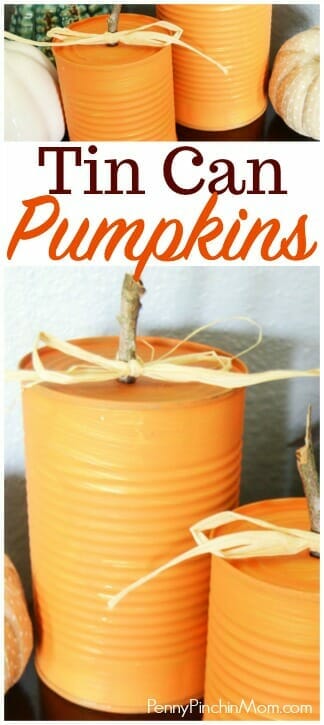
It’s always fun when you can reuse items from around your house to make something fun and unique for your home decor! These adorable little Tin Can Pumpkins take very little time, or supplies and turn out super cute! They look great perched on a bookshelf, or paired with some other fall decor.
One of the best things about these Tin Can Pumpkins is that you can mix and match sizes. You can do large fat cans, short cans, regular cans etc. Another great way to give them dimension would be to change the colors of the paint. You could do some of them green, or white, or even just make them in varying shades of orange. You could even make them Halloween specific by drawing or painting on a jack o’lantern face.
We’ve also got some other fun pumpkin and Halloween decorations you will want to make this year:
Supplies:
Tin Cans
Orange Acrylic Paint
Paintbrush
Screwdriver
Small Twigs
Raffia or ribbon
Directions:
Wash and dry your tin cans. Remove the label and any residual glue from the can. Once completely dry, use a foam brush to paint them orange. Allow it to dry and apply a second coat (as needed) and allow that to dry as well.
Use the screwdriver (Phillips head works best for this) and stab a hole into the top of the can. Press the twig into the hole make sure it’s in there tight. Use the raffia or the ribbon and tie a bow around the stem. Display your pretty Tin Can Pumpkins wherever you want a bit of fall.
