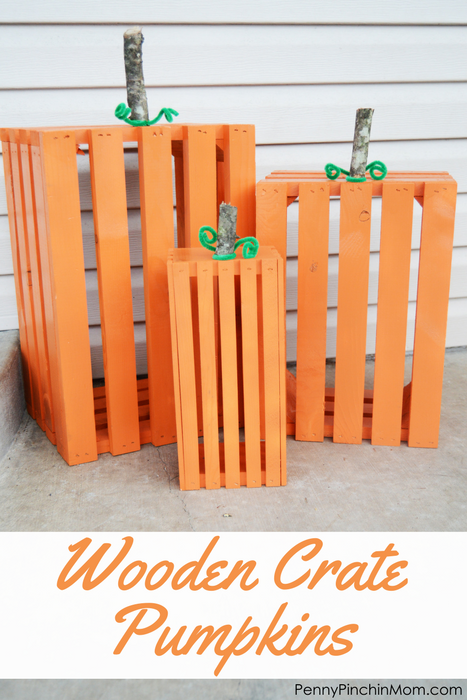
I love fall! I love decorating for fall in every nook and cranny of the house, and my decor often makes it outdoors too. This year I decided to make some fun Wooden Crate Pumpkins for my porch, and I couldn’t be more pleased with how they turned out!
Wooden Crate Pumpkins are so simple to make. The whole project took about an hour, and part of that was waiting for the paint to dry! You only need a few supplies to make these, and they look so neat on the porch too.
Other fun fall inspired craft ideas:
Supplies:
3 wooden crates of differing sizes
Orange spray paint
3 green pipe cleaners
E6000 Glue
3 branch pieces
Pruning tool (to trim branches to size)
Directions:
Clean off the crates before you do anything. Remove any stickers or price tags. If yours is stuck on (as mine were), remove what you can and then use sandpaper to remove the remainder.
Spray paint your wooden crates orange on the insides and out. Be sure to get between the slats so everything that’s visible is orange.
Once your painted crates are dry, you’re ready to attach the stems! Use your pruning tool to trim the branches to the size you need to make your stems. Attach to the top of the crates (centered) using glue. Allow the glue to set for at least 15 minutes.
Then, add your pipe cleaners. Wrap it around the base of the stem like a bread twist tie. This ensure it is secured. Then, twirl the ends around your finger to make a curly twist like a vine.
Allow your epoxy to sit for 24 hours before exposing it to the elements outside. Your pumpkins will be fine on the porch all season long! They’re the perfect corner filler and will add a seasonal touch with very little effort at all!
