My kids love to paint. Even as they’ve grown, finger painting is still so much fun to them! Pineapple finger painting is fun for both kids and adults. I’m not going to lie; I had a ton of fun making them too!

It’s super simple to make these Pineapple Finger Painting projects, and each one is different! Even though we all used the same plate of paint to do our projects, each one was different! The colors are fun to mix, and they make awesome tropical decor! You could even frame these and use them as fun wall art if you wanted as well!
Other fun DIY ideas:
Supplies:
Paper or Cardstock
Paper Plates
Neon Tempura Paint
Set out a paper plate for each color of paint. Squeeze a generous amount onto each of them.Don’t be afraid to use unique colors, because it makes the Pineapple Finger Painting that much more fun! We used white cardstock since we were using paint, but you could probably use regular paper and be fine too.
Pick up your paper plate and let your colors run together a bit. Don’t smear them all together, but just tilt your plate back and forth to allow the colors touch each other. Then, you are ready to start painting!
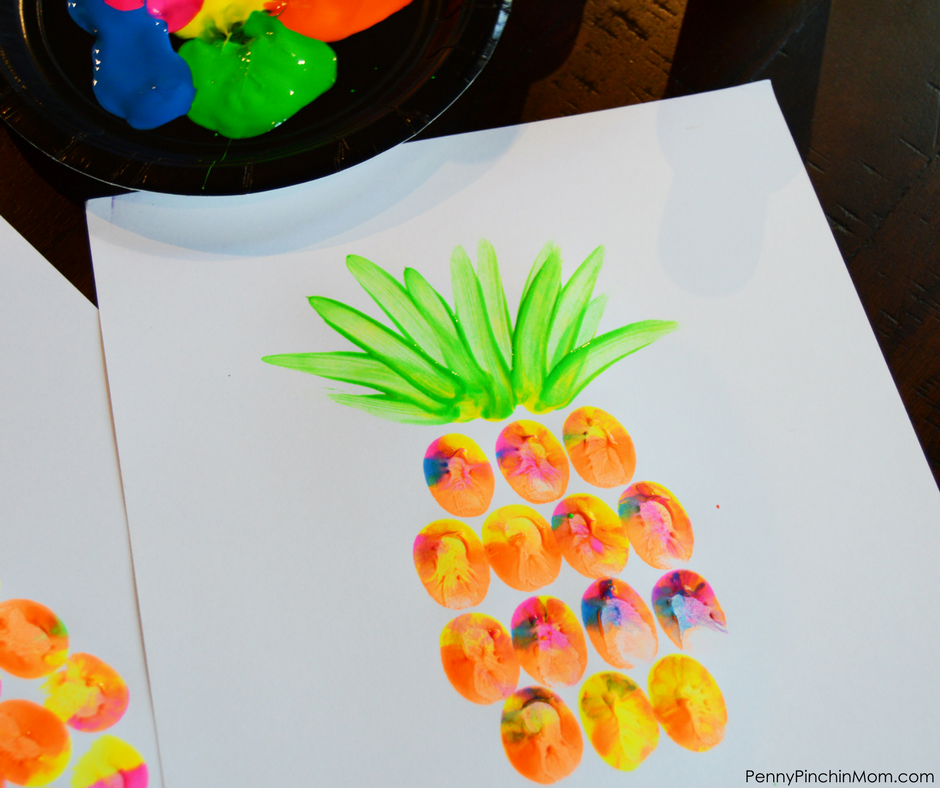
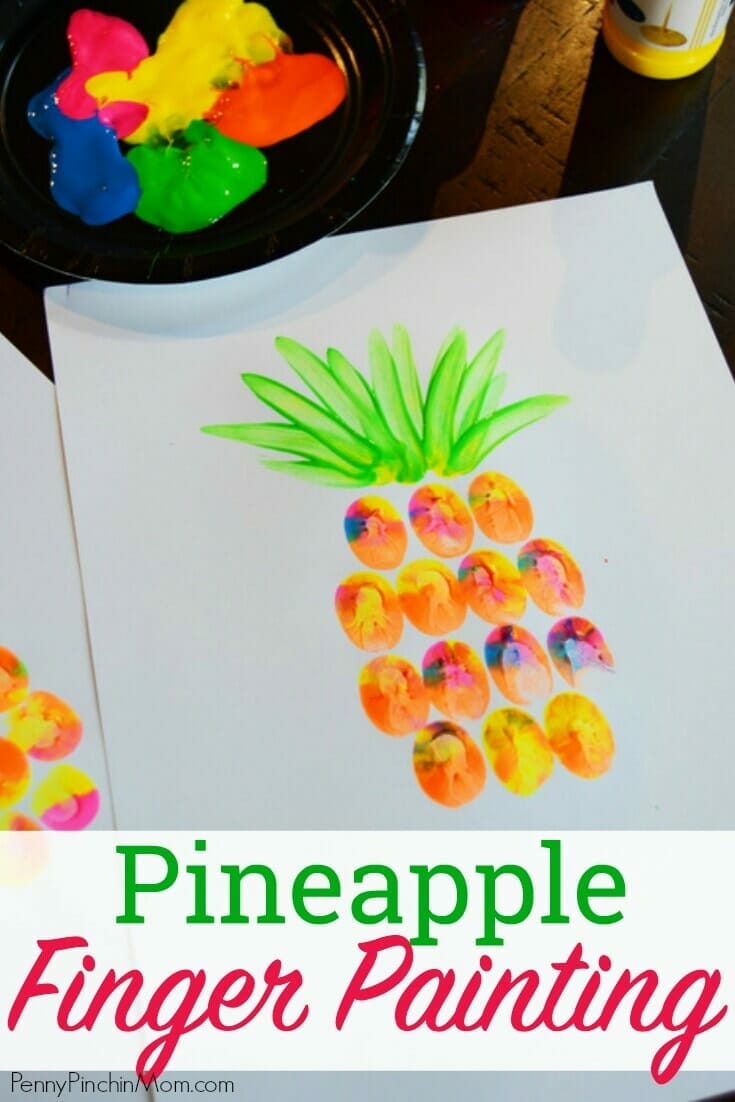
Dip your thumb into a few colors and press it firmly onto the paper. Make sure you press your thumb firmly onto the paper to get fuller coverage. Also, place each print close to the one before it (for best results). Re-coat your thumb in between each impression. Doing so will ensure you have bright colors and full coverage.
We used a row of three on the very top, then two rows of four, then a row of three for the very bottom. It helped give our painting the body of the pineapple.
Finally, dip your index finger into green paint. Swipe up and out to create the leaves.
There is no wrong way to do this, so let the kids have fun!
