One area in my house that tends to get messy quickly is the pantry. It’s a revolving door of getting snacks, planning dinner, and fixing breakfast — so it can turn from easy to find things to “didn’t I just buy a bag of noodles last week?”
Not only can a messy pantry make it difficult to find the food you’re looking for, but it can also result in waste. You could have canned food set to expire and you don’t know it because it’s hiding in the back. Or you could end up buying more of something you already had but didn’t know it. There goes your hard-earned money, right into the trash can.
Here are some pantry organization tips for creating a useful storage space and keeping it clean.
- Pro tip: If you’re ready for a pantry makeover, you will want to grab my pantry organization checklist. It will guide you through each step to get your space organized.
AN ORGANIZED PANTRY STARTS WITH SHELVES
First things first: You need some sort of pantry shelves to hold all of your food and storage containers. Shelves are a must-have to increase your visibility into your food stores, so if you don’t have a pantry cabinet in your kitchen, you should install inexpensive wire shelving somewhere. Even inside a coat closet will work! I once saw a small pantry made up of wire racks hung above someone’s washer and dryer in her utility room. Get creative — you don’t need an official kitchen pantry to keep your food organized! Anywhere you can install open shelving will work as pantry space.
If you’re worried about crumbs, spills, or peanut butter smudge, you can invest in a shelf liner to protect your shelves.
Also See: 11 Lifestyle tips from organized moms
USE FOOD STORAGE CONTAINERS
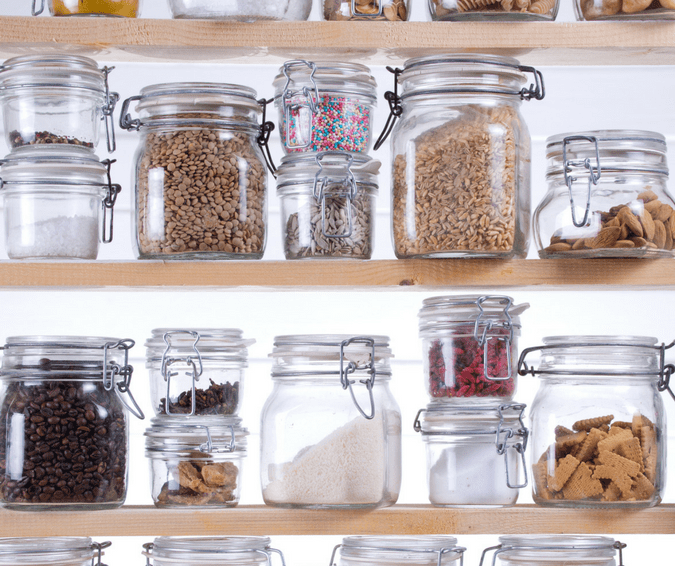
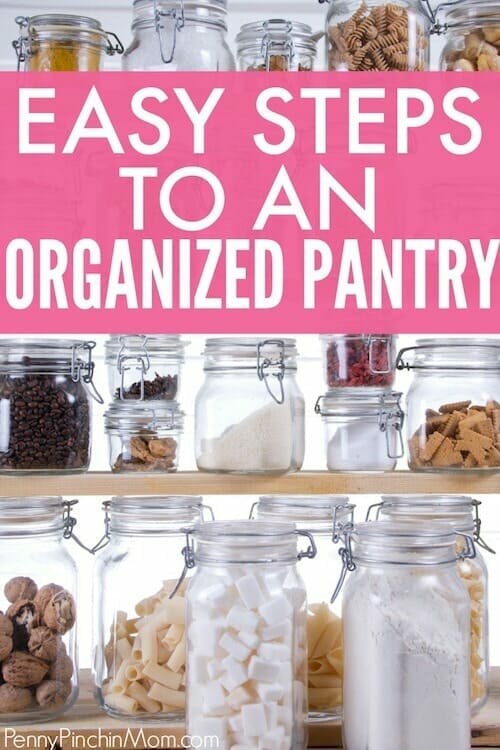
Besides shelves, you’ll also want to invest in some sturdy containers designed for food storage. A clear container will allow you to find things faster, and if you get a modular set of them, they’re easy to stack and keep things tidy. I never keep any food in the original store packaging. The minute I get home from the store, I put everything in see-through plastic containers. Not only does that help my kids find the snacks they want, but it also prevents the food from going stale. (There is nothing worse than popping a cracker into your mouth and realizing it’s stale because it wasn’t stored properly. BLECH! A pop container will solve that right away.)
I spent about $50 purchasing clear containers for my pantry makeover. However, I know that this was an investment as I will save more than $50 in the long run by not having to throw away stale food.
And if you don’t want to put things in plastic, a big recycled glass jar works well for small items like elbow macaroni or other pastas. I like to buy staples like lentils and rice in bulk and then measure out cooking-sized portions that I keep in a mason jar right in the kitchen. Then I seal the rest of what I purchased in an airtight container and put it in the pantry.
MAXIMIZE YOUR STORAGE SPACE
If you have a small kitchen and are short on storage, you’ll need to be creative to get the most out of your pantry space. For storing items that you don’t use regularly, like birthday cupcake liners or other special-occasion baking supplies, consider putting them on a lazy susan on the top shelf of your kitchen cabinet. If you’re short on shelf space, you can also create space for storage on the back of your pantry door (if you have one) by hanging a closet organizer there. It’s a great spot for a makeshift spice rack.
Check out a dollar store for more inspiration on storing pantry items! (If you find anything great, let us know in the comments.)
HOW TO KEEP YOUR PANTRY ORGANIZED
I clean my pantry weekly. It’s not a DEEP clean, just a quick clean-up and organization. Then, once a month or every six weeks, I do a deep clean and end up with a wonderfully organized pantry … at least for a while!
Deciding to clean and organize my pantry regularly was one of the best things I’ve done to improve my grocery budget (and my sanity). Pantry organization isn’t hard, but if you don’t know where to start, it can seem like a daunting task. I recommend starting small and then working your way up to a bigger cleaning.
So for a smaller project that’s easier to bite off, here’s what I do each week to make sure the pantry stays clean:
Check for empty or nearly empty bags, containers or boxes. Add any items that you need to replace to your grocery list.
Look for crumbs on the shelves and floor, such as crackers that fell out of packages, etc. Clean up the messes as needed (sweep and wipe down shelves).
Make sure that all like items are next to one another (keep cereal together, crackers in one area, and cans stacked neatly). We even put all of our noodles together.
Keeping things together like this saves my family time. If I am making spaghetti for dinner, I know I can look in the “noodles section,” and the “cans section” to find what I need to make dinner. It not only helps me but helps my husband, too! Rather than me having to help him find something, he can (usually) see what he needs because it is organized! Ahhhh … simple things that make me smile!
- Pro tip: One fun pantry organization idea is to use a snack basket for the kids’ snacks so they can find what they need quickly. This helps with portion control, too, so they don’t eat all the granola bars in one day!
And that’s it. That’s all I do in my cleaning every week, and we can find anything we need when we need it. Our family also wastes much less food because items don’t go stale and need to be thrown out. It just works!
HOW TO DEEP CLEAN YOUR PANTRY
At least every two to three months, I declutter and do a deep clean. I take everything out, wipe down every shelf, and create a pantry inventory of what we have on hand and what we will need. This helps me determine if there are foods that we are not eating, so I don’t buy them any more (which ends up wasting money).
This process does take more time than the weekly cleaning, so make sure you have set aside at least an hour (possibly longer) to clean yours. Here’s what I do:
Remove everything from the pantry; do this shelf by shelf (or drawer by drawer!).
As each pantry shelf is empty, wipe it down before putting anything back.
Check for expired food — both for pantry staples that are already expired and for “best by” dates that are coming up fast.
Make a stack of cans you can donate (for those your family has decided not to eat).
Make sure that all like items are put back near one another.
- Pro tip: You might end up throwing away items while cleaning, which means you need to buy replacements. You might also discover that you are running low on a staple like rice or flour. So if you make a shopping list while you are putting items back on their shelves, you’re sure to remember to get what you need. There is nothing worse than having to run to the store for one ingredient when trying to make dinner! I HATE doing that!!! By taking a few minutes to do this simple step when you’re cleaning, you’ll save yourself time later.
The final step in your deep clean is to sweep and mop the floor.
HOW TO USE YOUR PANTRY BEFORE AND AFTER GROCERY SHOPPING
I visit the grocery store every Friday, and I always do my weekly pantry clean-up before I head to the store. That way, I can update my shopping list if know if I am out of cereal or the box of crackers is nearly empty. So, weekly cleaning serves double duty for me!
When returning from the store, take each item out of its original packaging and put it into a food storage container. Make sure all your pantry goods are put away next to other like items (i.e., keep canned goods together).
NOW GO GET STARTED ON YOUR PANTRY ORGANIZATION!
Grab yourself some shelves, containers, and time (which is probably the toughest of those three to get!) and get cracking. With a little planning and work, your pantry can be the organized space you’ve been dreaming of!
