As your child starts another school year (or is starting for the first time), you may find that you have a stack of artwork and papers. What should you do with these?
Maybe you will toss them into a bin until you figure it out. But, wouldn’t it be better if you could figure out how to organize your kids’ school memorabilia, photos, artwork and papers?
As a parent, you want to keep many items for your kids to have when they grow up. I still have things from kindergarten that I share with my kids. They find it hilarious to see that mom couldn’t write very well either!
Organizing these papers will save your sanity and help you find the item you want when you need it. Not only that, but you won’t end up looking at a paper your child wrote and ended up wondering — how old was he when he wrote that? You might see that handprint and think, was she 5 or 6 when she made that in school? I’ve got a simple way for you to keep those cherished items AND help organize them. The best part of all is that you only have to do your filing ONE time a year!
With three kids, I had to find a better way to stay organized. I came up with an easy system that I know anyone can use. And, it will take you just 30 minutes a year (max) to get everything organized!!!
HOW TO DECIDE WHICH SCHOOL PAPERS TO KEEP
Unless you have countless storage space, you just can’t keep everything. Ask any mom and she would probably agree as much as she wants to keep everything, she just can’t. There is just too much to store it all.
But, at the same time, throwing anything away can leave you feeling heartbroken and like you are tossing out things your child has created. So, how do you balance this? How to you determine which pieces of artwork and school memorabilia to create and what to throw away?
Artwork
I try to keep the majority of the artwork that was created. However, it was a coloring or a sketch, I may toss them aside. However, I save almost all original creations.
Bonus tip: If you run out of storage space or don’t want to save every bit of artwork, take photos of them! Later, you can create photo books filled with your child’s creations.
Stories
My kids have created countless stories that are too amazing to toss. I add the date and their age to the back and keep every one of them. These are too priceless to toss.
Report Cards
I only keep the last report card of the year. There is no reason to keep one from each quarter. Narrowing it down to just one save space.
Handprint art
If it has my child’s handprint on it, it gets saved. No matter what. They are only that size for a little while and those handprints are very, very precious. I keep every single one of these.
Certificates and Awards
Each year my kids get a multitude of rewards and certificates. I keep all of these.
Cards
I don’t keep every birthday card. However, if someone happened to pass after they had sent a card, I always keep that, so we have their signature. I also keep any handmade card the kids created for birthdays or Mother’s Day and Father’s Day.
Photos
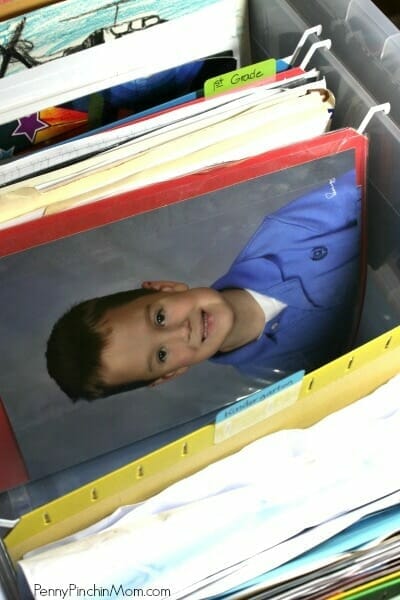
We always save the school pictures, including their class picture. If they received any from their friends, we make sure to save them as well. Below I have a bonus tip to help you organize your photos AND help you quickly identify which year your child was in the specific grade.
DAILY WORK
When it comes to day-to-day work and tests, I toss them all into the recycling bin. With three kids, I have to narrow down what we keep and what we toss. This system has worked very well for us over the years. We have the most important items set aside so they can look back at them when they get older.
HOW TO STORE SCHOOL PAPERS
It is important to develop an effective system to store children’s school memorabilia and papers. The one I’ve created requires. It requires bins, folders, and plastic sleeves. Below you’ll see each of the products I used so you can create your own system.
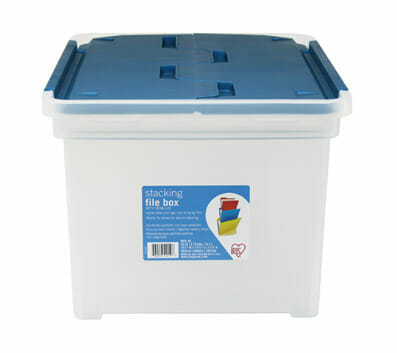
STORAGE BIN
You can use any bin you would like. However, I recommend yours have a lip on the inside so you can hang folders on it. For example, you can use this hinged storage bin with hanging folder features. I loved the winged lid because it was easy to open and had the ability for me to put a hanging folder inside of it.
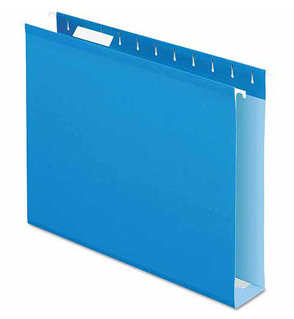
FOLDERS
You will also need folders. I recommend box bottom folders, so that expand wide enough to hold all of the items you need to store. These were a little more expensive, but, you should have no problem storing an entire year’s worth of papers in a single folder.
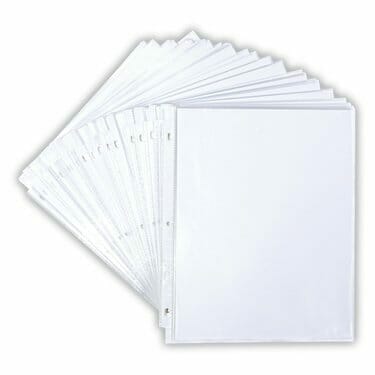
PLASTIC PROTECTORS
Grab a package of plastic protectors, or sleeves, that you can tape to the front of each folder. Placing your child’s picture inside helps you easily identify the year (and prevents them from getting crushed or creased).
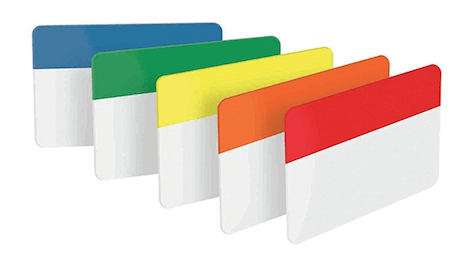
FOLDER TABS
You can use the tabs that come with the folder if you wish. I prefer something more durable, such as these 3M tabs. They stick easily to the top of your folder.
CREATING YOUR FILING SYSTEM
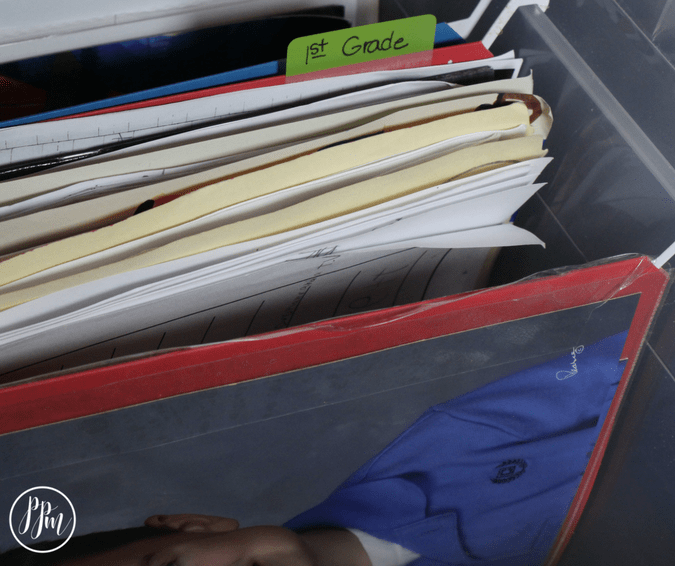
To start, write the school year on each folder tab. I made them for preschool through twelfth grade, but you can make them with whichever grades you would like.
As you can see in the photo below, I have mine created from Preschool up through 6th grade for my kids. I then filed the paperwork for each year into each folder. I didn’t have to cut anything. I didn’t have to put it into a scrapbook. I literally just placed each item into the appropriate year for each child.
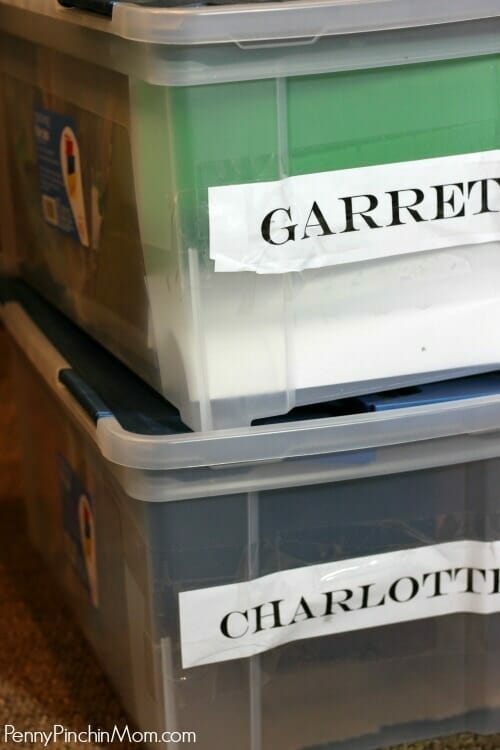
If you have more than one child, you should also label the bin itself. That way, you can find the one you need for each of them (and keep all of their information separate). I printed their names on paper and taped them to the front of each box.
The final step is to organize your papers! Place all of the items for each school year into the appropriate folder. And that’s it!!!
THE THIRTY MINUTE FILING METHOD
As I mentioned, I only file once per year. I have a large box which I set on top of these in my basement. All year long, I just toss in the items I may want to save into the box for all of my kids. Once the final report card of the year is issued, I print it out (they email them to us) and that is my cue to do my filing.
I go through the box of papers and open each child’s storage box. I file the items I need to save and toss those things we don’t need to keep. It takes me no more than 30 minutes to do this for all 3 of my kids!
There you have it! A quick and easy way to get those papers filed away and off of your kitchen counter, desk or wherever they happened to lie.
