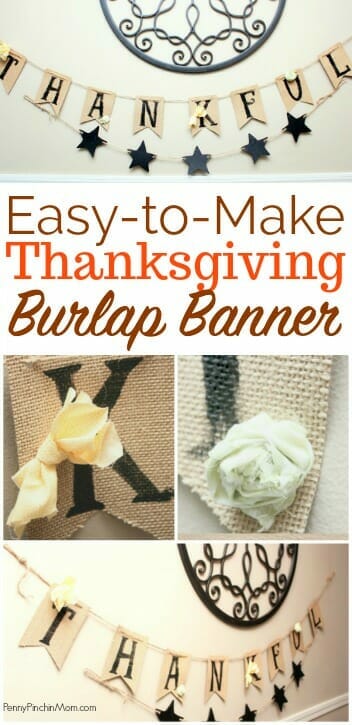
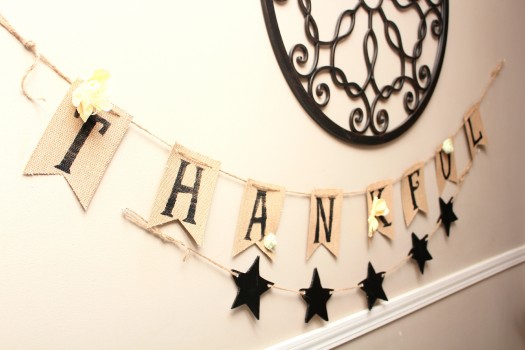
This thankful banner for Thanksgiving is very, simple to make. It will be the perfect backdrop for your get together this year. Your guests will be impressed and think you spent hours making it (but we know you didn’t).
You will want to check out these other ways to decorate as well:
SUPPLIES:
Burlap Scrapbooking Paper
Fabric (any type of fabric will do)
Tulle (if desired)
Needle and thread (should closely match fabric color)
Twine
Letter Stencils (as large as you want to make your letters)
Black paint
Sponge brush
Determine how large you want to make the letters and cut the bottom into an inverted “v” (or you can leave them flat). Use the stencil to add the letters to each one, so it spells THANKFUL.
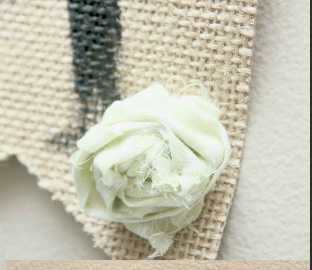
Next, you will make the flowers. Take some scrap fabric and lay it flat. Pinch your two fingers right in the middle of the scrap fabric (the size or shape of fabric really doesn’t matter).
Start twisting fabric starting from the middle where you are pinching. Once you have the desired look for your flower. Use a needle and thread to secure the flower together. Then, sew it to the burlap flower. (You can also check out our burlap flower tutorial if you want to make a larger flower).
If you want to make different flowers, lay some tulle on top of your fabric scrap. Then, follow the same steps as above to make the flower.
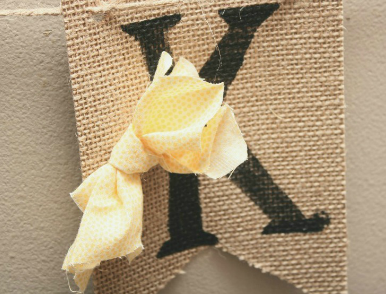
You can also create bows out of scraps of fabric, if you wish. Just cut the fabric into the size of strip you want and create a bow. Sew it onto the banner.
The final step is to punch a hole on each banner piece (one in each upper corner). Thread your twine through each letter, allowing around 3 – 4″ between each letter. Cut off any excess on each end.
The final step is to create a loop knot at each end so you can hang it on your wall. And you’re done!!


