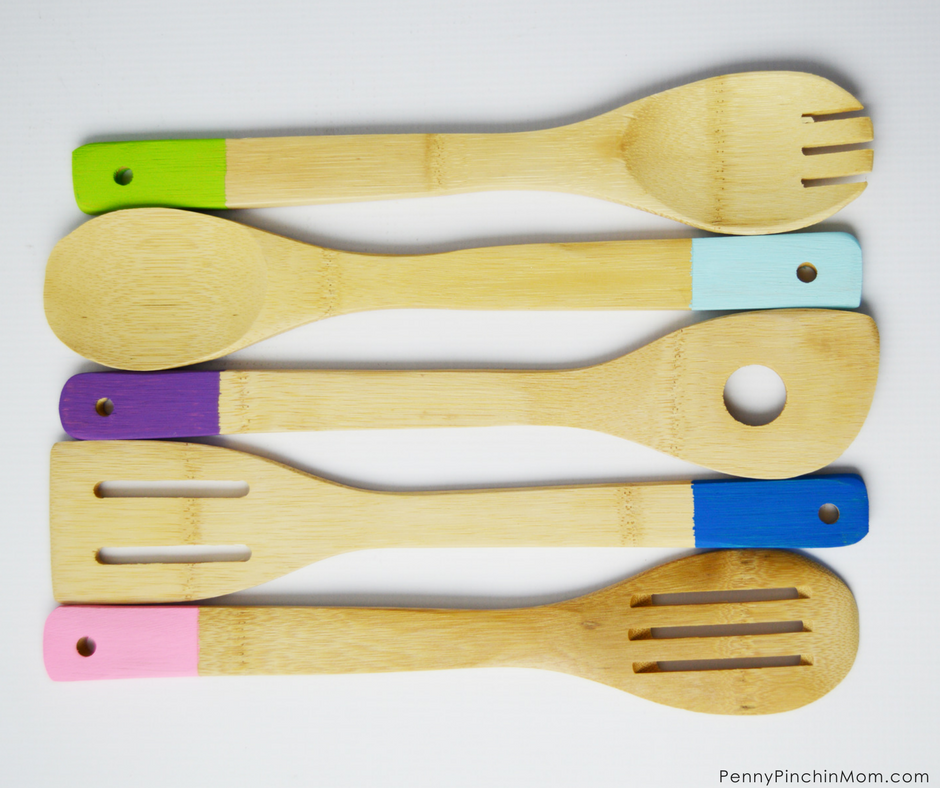
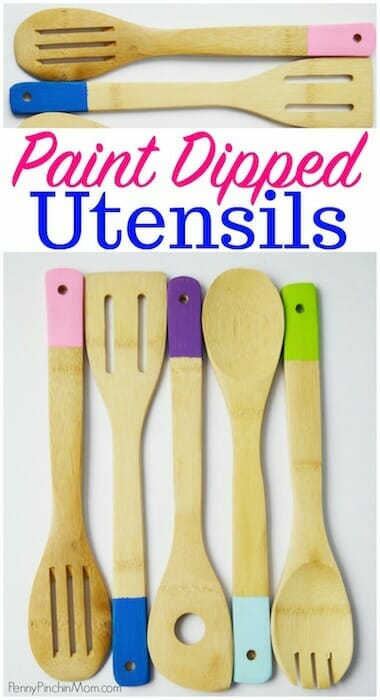
You have probably seen paint dipped utensils in your store. They are really colorful and pretty, but also come with a hefty price tag. Learn how you can make your own paint dipped utensils at home for a fraction of the cost.
I I feel like I spend a lot of my life in two rooms of my house: the kitchen and the laundry room. I do my best to try and add little touches to each of those rooms to make me in a better mood, and to make my work there a little more enjoyable!
An easy way to do that in the kitchen is with these cute DIY paint dipped utensils. They are easy to make and only take a couple of minutes. They add a needed splash of color to my kitchen.
These paint dipped utensils also make great gifts. Include them as part of a bridal shower or wedding gift. Get mom or grandma the cookbook she wants and add them to her present.
Check out these other fun DIY Projects:
HOW TO MAKE PAINT DIPPED UTENSILS
SUPPLIES
Bamboo or Wooden Cooking utensils
Painter’s tape (blue)
Acrylic Paint
Painter’s Tape
Paintbrush
Food safe shellac and sealer
INSTRUCTIONS
First, decide how far down onto the handle you want your paint to go (there is no right or wrong here). Then, use your painter’s tape and wrap a very straight line around the utensil handle. Note, your line MUST be straight, or your pain line will be crooked. Seal the paint tightly around the handle so there are no gaps.
Paint a thin, even layer over the handle, painting down onto the tape. Place handle up in a jar or glass and let dry for 30 minutes. If needed, apply a second coat.
The final step is to seal the paint with shellac. It is extremely important that you use one that is safe for food since you will use these for cooking
Allow the utensils to dry, according to shellac instructions, and then remove the tape. That’s it! You’ve got custom utensils to use in your kitchen.
In order to ensure the paint does not come off, wash them by hande. But, keep in mind that scrubbing too hard can also remove the paint.

