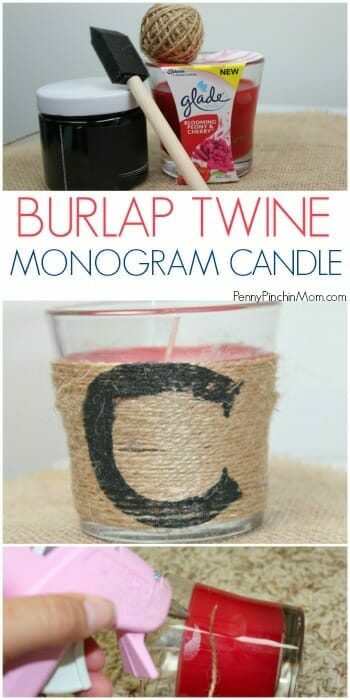
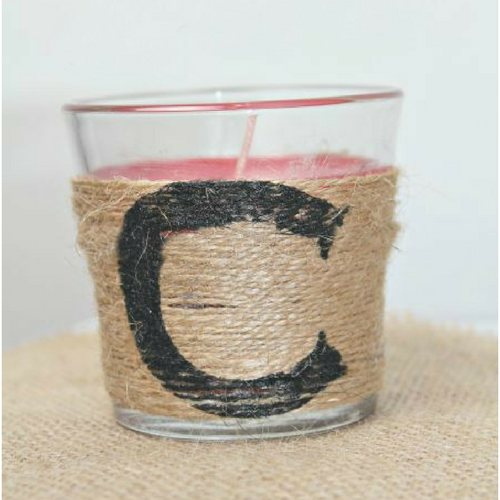
This awesome and fun DIY Burlap-Twine Monogram Candle can be accomplished in 10 minutes or less and costs less than $2 start to finish! Now you can’t beat that for an easy DIY home project! These monogram candles are perfect for placing around your home as decor, giving as gifts or even as centerpieces for a wedding or ceremony!
Other simple DIY projects:
BURLAP TWINE MONOGRAM CANDLE
Supplies
1 candle (I used a Glade candle)
Burlap Twine
Black Paint
Sponge Paint Brush
Stencil of monogram letter (I made my with my Silhouette machine)
Hot Glue & Glue Gun
DIRECTIONS
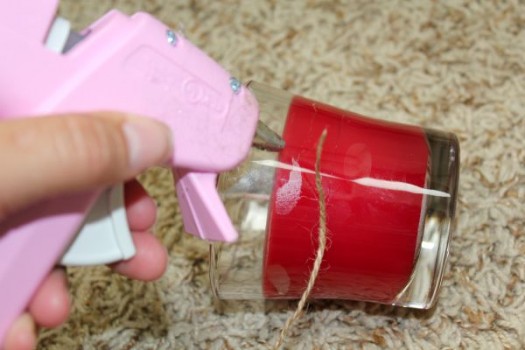
Using a dab of hot glue attach a piece of burlap twine to the outside of the glass candle. Begin to wrap the candle. Every so often, add a little glue to the candle, to reinforce and hold the wrap in place. Once your have fully covered the desired area of the candle, finish off this step with another dab of hot glue.
Next, use your stencil (or make a stencil using a Silhouette machine) and apply it to the twine, where you will want the monogrammed letter to appear. Make sure all of the edges are fully attached without any gaps.
Use the sponge brush and carefully apply black paint onto the stencil. Use a dabbing motion (so it gives it a bit of a weathered look). Let the paint sit for about 5 minutes and then remove the stencil.
And you’re done! You’ve got a gorgeous candle with a monogram on it. You could combine two letters to make mini gifts for your wedding or bridal shower. The ideas are simply endless!


