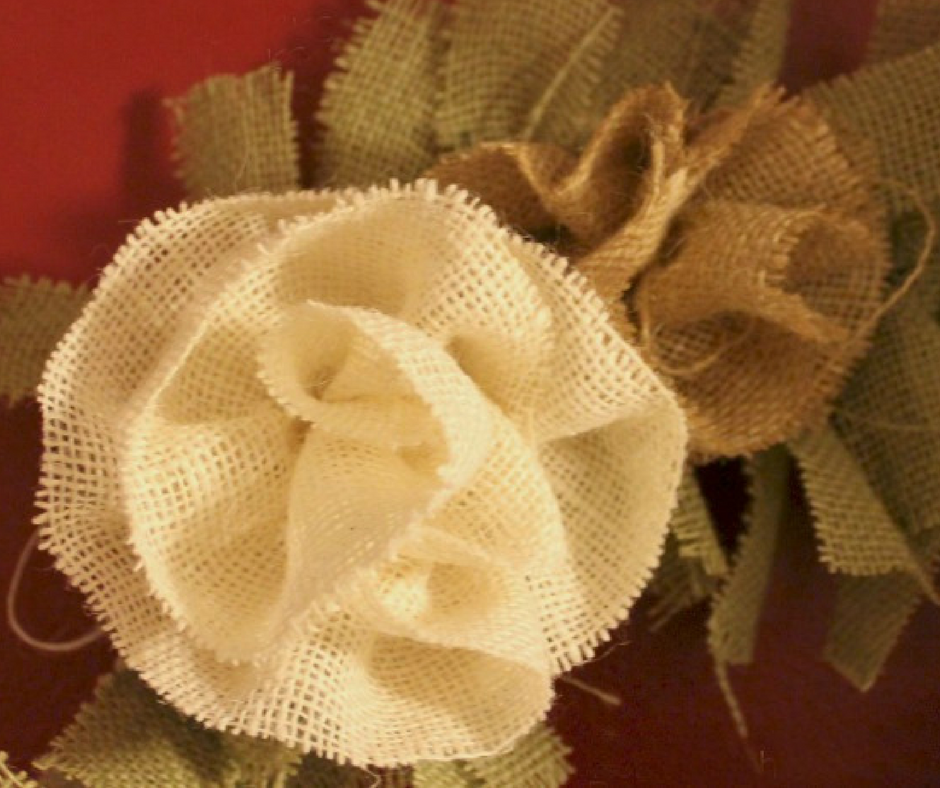
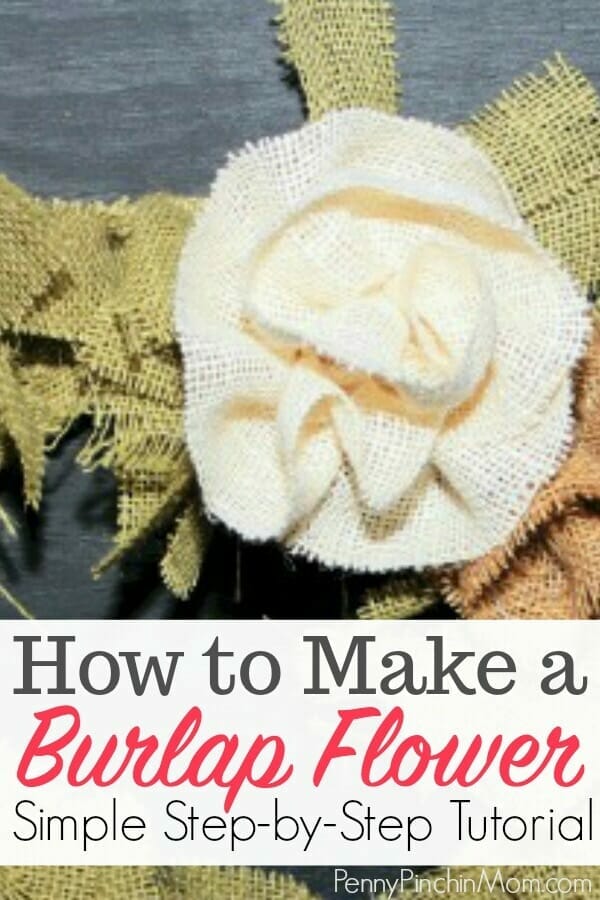
Everytime I see a burlap flower, I think it is so simple yet pretty. I figure out how to make these a few years ago and you might be surprised to learn how simple it is!
Burlap flowers are easier to make than you may realize. There is a trend of making interesting burlap crafts and this is just one of them. You can add these flowers to create a Rosette wreath or use these burlap flowers anywhere else in your home.
If you are into the shabby chic look, then burlap is the perfect fabric for you. These flowers will take you less than three minutes to make. Then, use them to decorate wreaths, gifts, centerpieces – just about anything you’d like!
Other easy projects:
HOW TO MAKE BURLAP FLOWERS
SUPPLIES
Burlap
Hot glue gun and sticks
TUTORIAL
First, cut a strip of burlap approximately 2″ wide by 7″ long (if you want a larger flower, you cut it wider than 2″). Fold over one end of the burlap 1/4″ and glue it together.
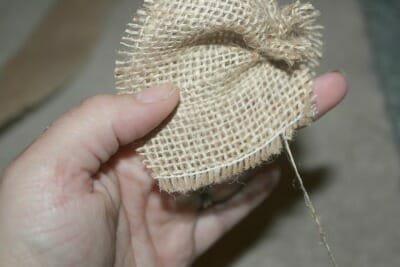
Grab the opposite end of the fabric. Find a thread that is about 1/2″ in from the edge of your fabric. Start pulling on this one single thread.
As you do, you will see the fabric starts to gather. Continue to gently pull the thread until the entire strip of burlap is fully gathered. It will begin to form a flower all on its own. Just make sure that the glued end of the fabric is what ends up in the center.
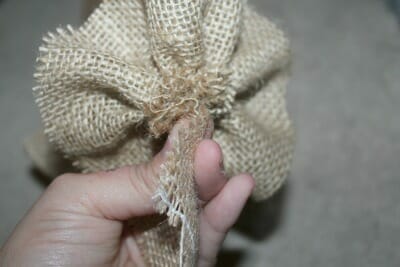
The glued section of the burlap will be on the inside and the excess string will now be on the outside. Take the string and wrap it around the base of the flower. This will hold it together.
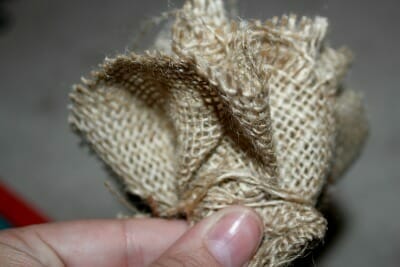
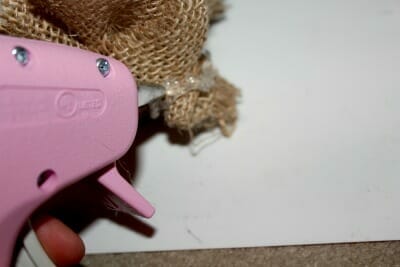
Secure the flower closed by using the hot glue gun around the base (over the wrapped string).
Viola! You’ve just created a burlap flower!! Now, add it to your centerpiece, wreath, window treatment – -anything you want!
