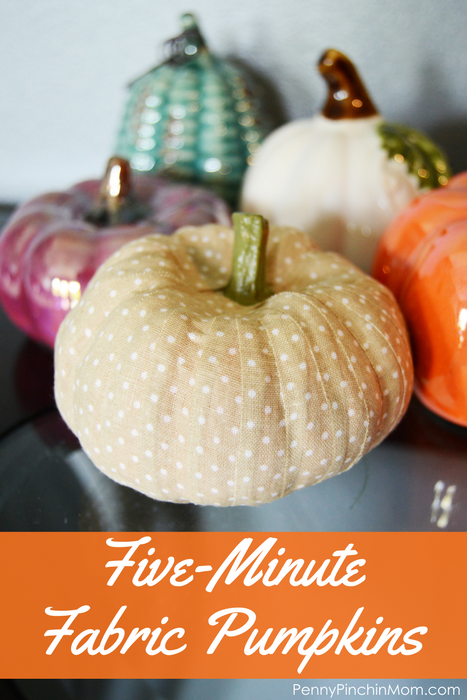
A lot of times when I see DIY home decor, it always take a lot of time and supplies, and I don’t often have time to do them. These Five-Minute Fabric Pumpkins are nothing like that. They take two supplies, and a few minutes and I LOVE that.
I also love how easy this craft is to customize to your specific home decor. You don’t have to worry about mixing and matching things in your decor when you use this method. You can buy what you want, and then make it match your stuff!
Supplies:
Small Pumpkin
Fabric Tape
To start you will just need to grab your pumpkin and your fabric tape. I found my pumpkin at the dollar store, and I’m sure you can grab one there or at Hobby Lobby or even at Walmart. Ceramic or foam works just fine. Make sure you’ve removed any price or barcode stickers before you start applying your fabric tape.
One strip at a time put the fabric tape on the pumpkin. Start at the top, at the base of the stem, and wrap it straight down to the base of the pumpkin. Cut the strip of fabric tape, and then use your thumb to smooth it down flat, being sure to smooth out any bubbles or wrinkles. Overlap the edges of the tape so you don’t see gaps of the pumpkin sticking through.
Keep it neutral, like we did with ours, or mix it up with some bright patterns or florals! Each pumpkin can be completely different, or you can make a matching group. Either way, this should only take you about five minutes per pumpkin, so you don’t need to set aside a lot of time to complete this craft, which is why we call them Five-Minute Fabric Pumpkins!
If you liked these Five-Minute Fabric Pumpkins you should check these out too:
