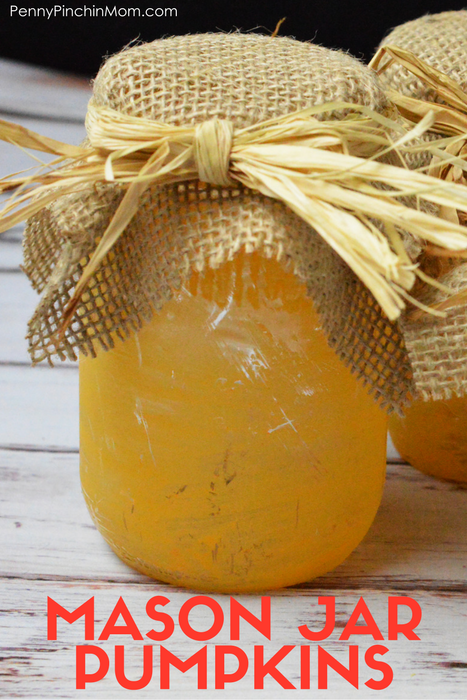
Mason jar pumpkins are the perfect way to decorate for all. Fall decor is some of my favorite (probably because fall is my favorite time of the year). I also am thrilled when fall comes around as that means lots of holidays and family time are just around the corner!
These fun DIY Mason Jar Pumpkins are easy to make, and I always get compliments on them each year! They fit just right in the corner of a shelf, or even work great as a centerpiece. They work with any jar, not just mason jars, so anyone can create them with items they have on hand!
We’ve got lots of FUN fall decorating ideas, crafts and recipes right here at Penny Pinchin’ Mom!
SUPPLIES
A glass jar
Orange chalk based paint
A clean rag
Burlap
Raffia
Lightly paint the outside of the jars with one coat of orange paint. Once the paint is dry, dampen the clean rag (I use an old white t-shirt, cut into smaller squares), and gently rub on the jar any place there is detail of decoration to remove some of the paint and make the jar look “aged.” Set the jar aside and allow it to dry completely.
Cut a square of burlap that is about 6″ x 6″. Cut a few strands of raffia that are about 18″ long. Once the jar is dried completely, place the burlap square over the top of the jar, and hold it in place while you tie the raffia into a bow around the rim of the jar.
Repeat as many times as necessary to get the number of pumpkins you want! Sometimes I will put battery operated tea lights into the jars to give them a warm glow for the evenings. The burlap “lid” pops off an on easily once the raffia is tied, as long as you’re careful! Enjoy making your little pumpkin patch!
