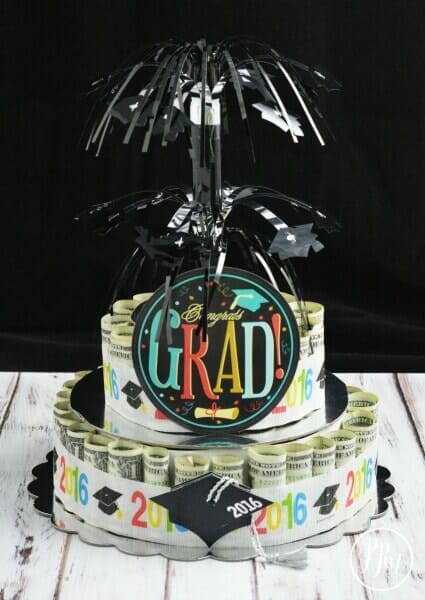
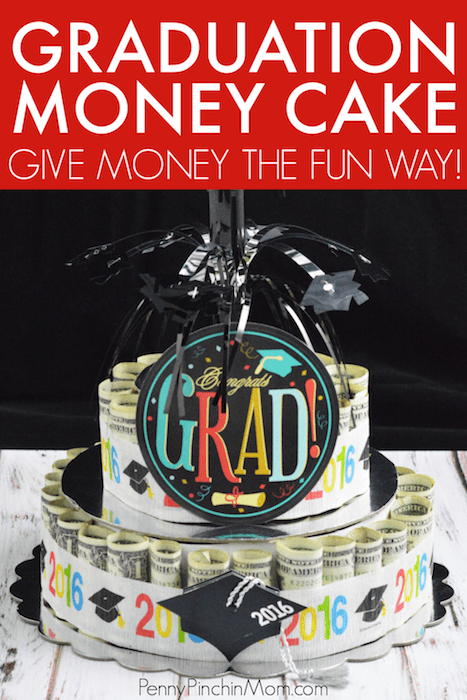
A money cake is easy to make and personalize – and works for just about any occasion! Nothing says “happy birthday” like a custom cake. And to make this one, you do not have to be an expert in baking and cake decorating armed with frosting, fondant, or sugar flowers. You just need some bills, a hot glue gun, some patience, and of course, a special occasion.
I like to make money graduation cakes. Money is such a practical gift to give a graduate (eighth grade, high school, or college!), but it can feel like such an impersonal gift.
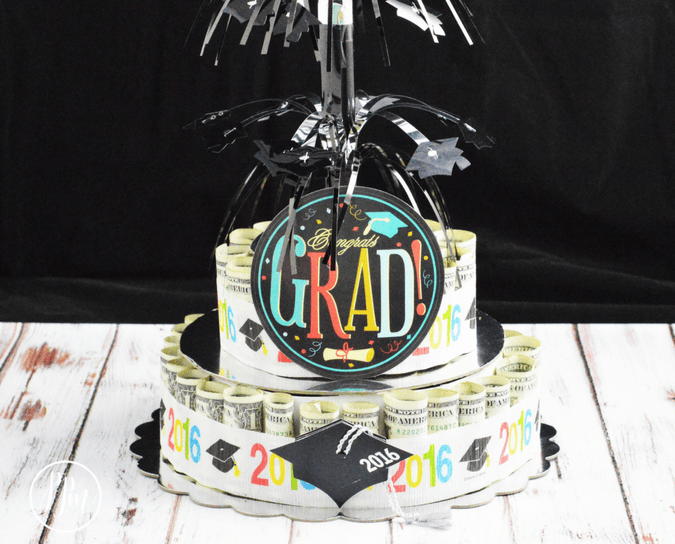
I decided to spice it up a bit and make this fun graduation money cake. I love how it turned out. While I created this one as a DIY gift for graduation, you can make one for any occasion, such as a birthday party, engagement or baby shower, or wedding!!! It’s a versatile, perfect gift!
Other graduation gift ideas:
- DIY Graduation Cap Candy Jar
- 20 Awesome Graduation Money Gift Ideas
- 8 Fun Ways to Give Friends & Family Money as a Gift
HOW TO MAKE A MONEY CAKE FOR GRADUATION
SUPPLIES AND INGREDIENTS
Pack of (4) 12″ Wilton Cake Platters
Cardstock or Construction Paper
Permanent Marker
Scotch Tape
Double-Sided Tape
Hot Glue Gun
(40) one-dollar bills
Paper Party Streamer
Box Knife
Decor of Choice
DIRECTIONS
STEP 1:
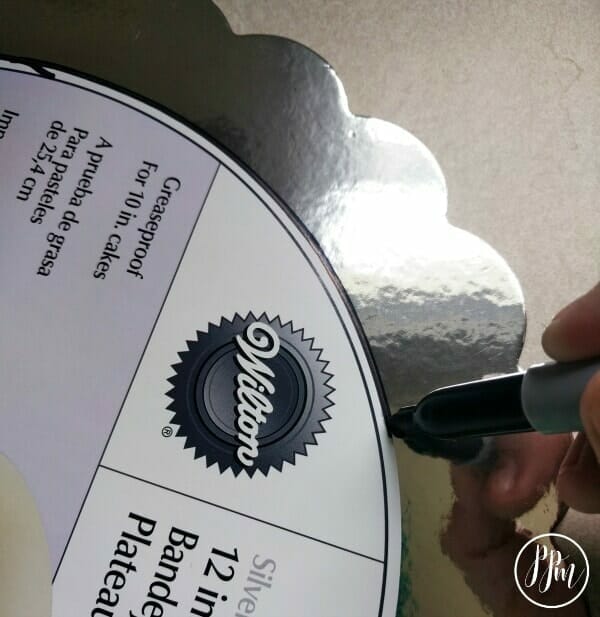
Use the top cake platter and trace it with a permanent marker to make your first layer. Use a box knife to cut out the circle.
STEP 2:
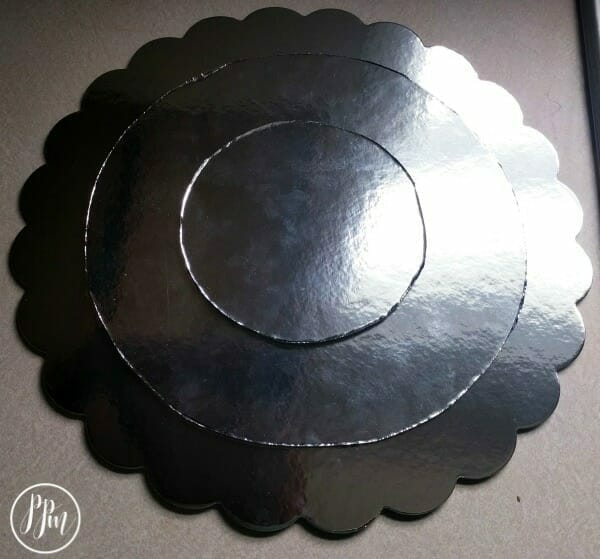
Cut out a smaller circle (it will be the top of your cake). Use something such as a bowl or coffee can and trace a small circle in the center. When you cut them out, you will have your base and a smaller circle for the second tier.
STEP 3:
Take card stock or construction paper and cut strips that are the same height as a dollar bill. This will be the “cake” that sits on top of the platter.
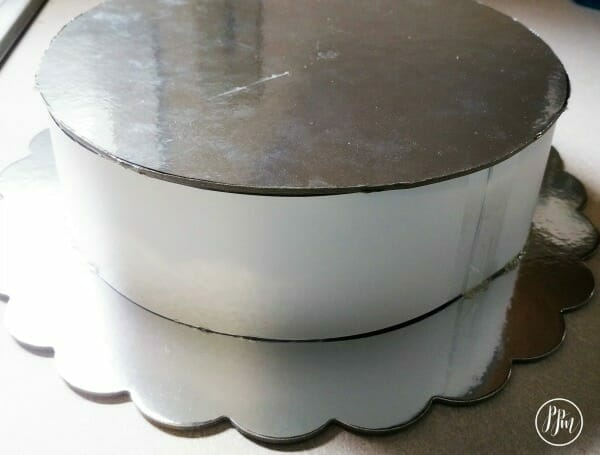
Tape the strips together until you can form a circle, which should be slightly smaller than your cake platter circle. Use your hot glue gun and put glue all around the bottom edge of the paper circle you made. It should look something like this:
Work quickly so your glue doesn’t dry. Press it gently onto your base cake platter, making sure it’s centered before you press it down.
Once you do that, glue all around the top edge of the paper circle and gently press the cutout cake platter on top. Repeat these steps for the second layer so that you will have a two-tiered cake.
STEP 4:
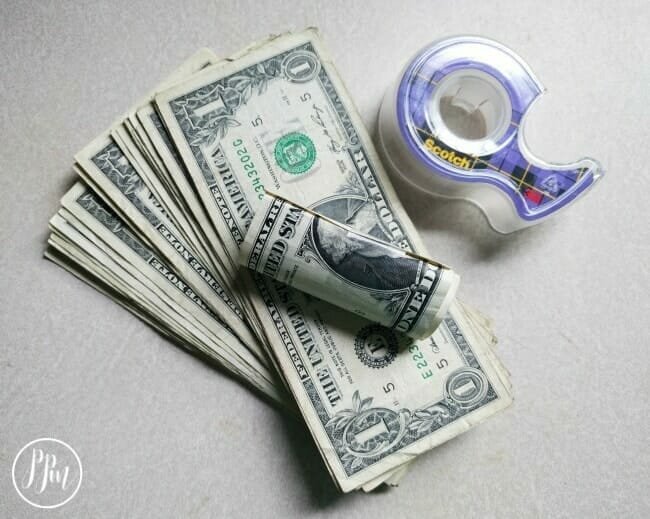
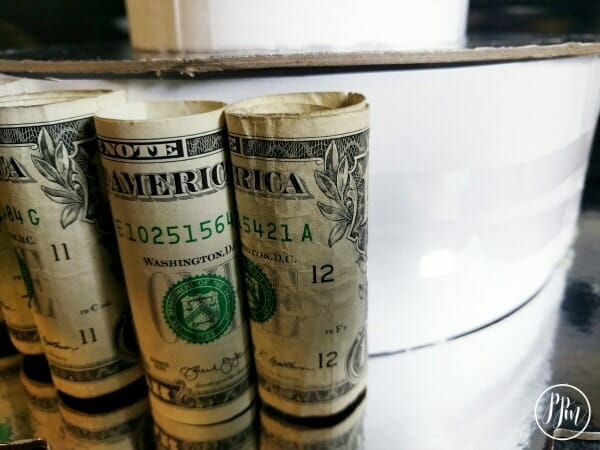
Roll your dollar bills. Keep in mind that the tighter the roll, the more money you will spend on your cake! 😉 I used rolled mine a bit more loose so I could make sure I just used the $40 I intended, but you can increase the value of each bill if your budget allows.
Roll the dollar bill evenly, and place a small piece of tape or rubber band to secure the roll. Un-taping all of these will teach the gift giver the value of a hard-earned dollar – haha! (Pro-tip: Use about an inch of tape for each bill. I also recommend you have all tape torn and ready to use before rolling each bill – it will be much easier.)
Forty, one dollar bills take a long time to roll and tape. Well, not very long, but it sure felt like it! But I weathered through, and this is my final product. Now you’re ready to start attaching them to the cake.
STEP 5:
Apply long strips of double-sided tape around each layer (you can do one or two rows). Stick your rolled bills, tape side to the back, against the tape to secure them in place. You can stick your finger inside of each roll each one to gently press them against the tape – so they stick.
Then, use the party streamer to wrap around each layer. Pull the paper just a bit before you tape it together to help it secure the money even better. (The recipient of this cake was amazed that he could turn it completely upside down and none of the money or decor would fall off!)
Add whatever decor you find that works for your occasion. If you plan on making one for graduation (as I did here), you can find these in most stores for $1 – $5 each.
Attach the cake topper to your money cake (I used a hot glue gun). Since mine was a sticker, I just left the backing on it and then applied a few dots of glue onto the paper streamer to apply the decor to it. Then, I taped the streamers together around the money to hold them on.
That’s it! That is all it takes to make your very own money cake. Best of all, you can make it for anyone you want – at any time!
