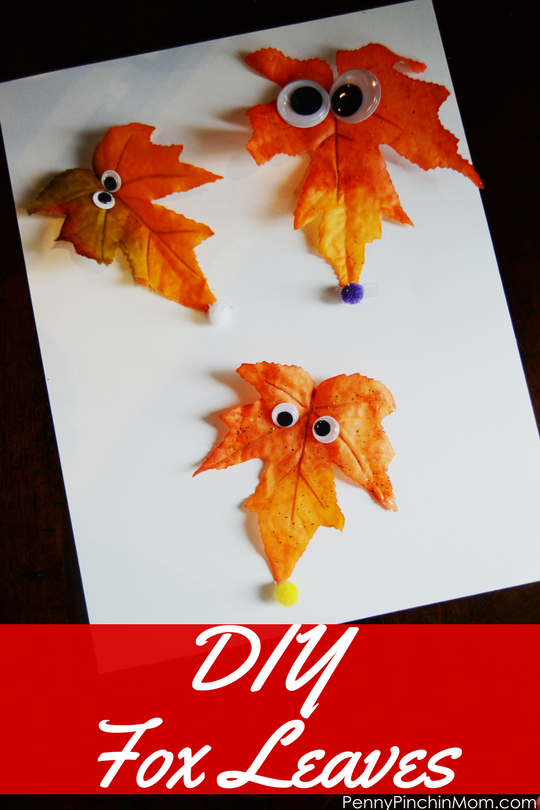
I love crafts that are easy to do with my kids. I don’t like to do crafts that take forever to set up, and are going to make my kids filthy and covered in paint and glitter by the time we’re finished. These super cute little DIY Fox Leaves have very few supplies, and turn out adorably!
What I love most about these DIY Fox Leaves, besides the fact that they’re simple and virtually mess-free, is that each little fox turns out differently depending on how it’s made. All of our little foxes seemed to have their own personality, and we just loved naming each one as we made them.
Supplies:
Cardstock
Elmer’s glue
Wax paper
Heavy book
Googly Eyes
Faux fall leaves (maple leaves work best)
Small pom-poms (for the fox noses)
Start by choosing which fall leaves you want to use for your foxes. Once you’ve selected them, use your elmer’s glue to liberally coat the back of them. Place the leaves down onto the cardstock in the position you want them to be. I like to turn their little heads different directions. This not only gives them more personality, but helps to fit more of them on a page too.
Place a sheet of wax paper over the top of the cardstock. Use a heavy book and carefully set it on top of the wax paper. This will ensure that while your glue dries, that the leaves lay down flat. The wax paper keeps the book from sticking to the glue.
Give it 30 minutes to an hour, and then the glue should be dry. Remove the book and wax paper carefully. Use two drops of glue to attach the googly eyes to the leaves. Mix it up and make some of them have large eyes, and some of them have small eyes. Put some of the eyes for your DIY Fox Leaves close together, and some far apart. Lastly, put a drop of glue on a small pom pom and attach it to the point of the leaf for the fox’s nose.
If you liked this DIY Fox Leaves project, check these out too: