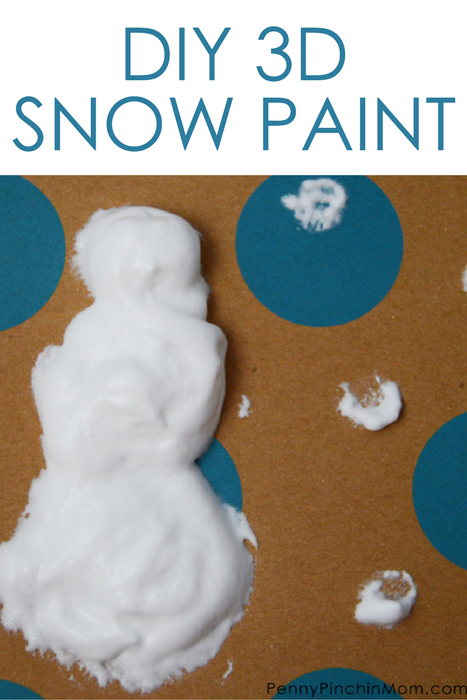
Having fun activities for kids to do when it’s cold outside, has always been important to me. I don’t want them to just sit and play on their tablets all day, or lounge in front of a TV. I love to engage with them, and allow them to be creative. This DIY 3D snow paint was an absolute hit, and it was so easy to make, you won’t even believe it!
Supplies:
1 can of shaving cream (not gel), refrigerated
1 bottle of school glue, refrigerated
Clear glitter (optional)
You will need to place the glue and shaving cream into the refrigerator overnight. This helps everything mix much better, so please do not skip this step.
In a large bowl, combine equal amount of glue and shaving cream. No need to measure, just eyeball it until it looks about even. Your shaving cream will probably be slow to come out of the can, but that’s perfectly normal. Mix them together with a fork, until the glue and shaving cream are well combined. If you wanted to add glitter, now is the time to do it! Add as much or as little glitter as you want (we always add a lot) and mix well.
I don’t recommend using a paintbrush to apply this DIY 3D Snow Paint, as your fingers work better. Just throw some old clothes onto the kids, and let them paint to their heart’s content. We applied on construction paper, and it turned out awesome! The painting my daughter did, which you can see in the picture, of the snowman, dried like that! He stayed all puffy and snow-like! Isn’t that neat?
Get your kids off their backsides, and get them creating with this super easy DIY 3d Snow Paint! Who knows, you may want to jump in there with them and paint. It’s so much fun to do. You could even add some food coloring and make different colors if you want, but that’s bound to be a bit more messy! We just stuck with white, and made snowy creations, which was a perfect activity for a cold winter day or even a hot summer afternoon!!
